The Beginner's Guide to Houseplants: Tips for Thriving Greenery

Houseplants have become more than just trendy decor. They bring life, beauty, and a sense of calm to your home, while also improving air quality. For beginners, however, caring for houseplants can sometimes seem intimidating. You might wonder, “How often do I water?” or “What’s the best spot for this plant?” The good news is that with the right guidance, keeping your plants healthy and thriving is easy, I promise!
In this guide, we’ll walk through everything you need to know as a beginner plant parent, from selecting the right plants to mastering their care routine. By the end, you’ll feel confident in nurturing your greenery and enjoying the many benefits they bring to your space.
Why Houseplants Matter
Before we dive into the how-tos, let’s talk about why houseplants are so beneficial, both for your home and your well-being.
Boost Air Quality: Many plants act as natural air purifiers, absorbing carbon dioxide and releasing oxygen. Some, like the snake plant and peace lily, can also remove toxins like formaldehyde from the air.
Increase Humidity: Certain plants release moisture, which can improve indoor air quality, especially during drier months.
Reduce Stress: Studies show that caring for plants can reduce stress levels, improve mood, and even boost productivity. There’s something calming about the presence of greenery in your home.
Improve Aesthetics: Plants enhance the design of any room. Whether you have a minimalist space or a more eclectic style, there’s a plant that can complement your decor.

Step 1: Choosing the Right Houseplants for Beginners
When you’re just starting out, it’s best to choose plants that are low-maintenance and resilient. Here are five easy-to-care-for plants that are perfect for beginners:
1. Snake Plant (Sansevieria)
One of the most popular beginner-friendly plants, the snake plant is incredibly hardy. It can thrive in a variety of lighting conditions, from low light to bright, indirect light, and it requires minimal watering—about once every four to six weeks.
2. Pothos (Epipremnum aureum)
Pothos is another foolproof plant for beginners. Known for its trailing vines and heart-shaped leaves, it grows well in low to bright, indirect light and can tolerate occasional missed waterings. This plant is very adaptable to it's environment. It’s also easy to propagate, which means you can grow more plants from cuttings.
3. ZZ Plant (Zamioculcas zamiifolia)
The ZZ plant is perfect for forgetful waterers. It can go for weeks without water and thrives in low light conditions, making it ideal for offices, bedrooms, or spaces without much natural sunlight.
4. Spider Plant (Chlorophytum comosum)
Spider plants are not only easy to care for but also non-toxic, making them a great choice for homes with pets or kids. They enjoy bright, indirect light and like to dry out a bit between waterings.
5. Peace Lily (Spathiphyllum)
Peace lilies are low-maintenance and have the added benefit of beautiful white flowers. They thrive in low to medium light and enjoy consistently moist (but not soggy) soil. Plus, they’re excellent at purifying the air.

Step 2: Understanding Light Conditions
Light is one of the most important factors for houseplants. Understanding your home’s lighting will help you place your plants in spots where they can thrive.
How to Identify Your Light Conditions
Bright, direct light: This is where sunlight hits the spot directly for several hours a day. Ideal for sun-loving plants like succulents and cacti.
Bright, indirect light: Light fills the room but doesn’t directly hit the plant. This is perfect for plants like alocasias, ficus, and monstera. The plant has a wide view of the sky.
Medium, indirect light: This is where the plants receive bright, but diffused light throughout the day and are placed a few feet away from a sunny window or behind sheer curtains. In this setting, there are no strong shadows, and the light is softer, making it ideal for many houseplants like pothos, calatheas, and dracaenas. It’s brighter than low light but not as intense as bright indirect light, offering a balanced environment for many plant species to thrive.
Low light: These are areas away from windows or where the sunlight is very filtered. Low-light plants like ZZ plants, snake plants, and ferns will do well here.
Finding the Best Spot
Observe how light moves through your home throughout the day. A north-facing window usually offers consistent indirect light, while a south-facing window provides bright, direct light. West-facing windows receive strong afternoon sun, and east-facing ones get gentle morning light.
For a more specific match between your plants and your home’s light conditions, snap a few photos of your space and share them with us at Foliage — we'll help guide your choices even further.

Step 3: Watering Your Plants the Right Way
Watering is one of the trickiest aspects of plant care, especially for beginners. The biggest mistake most people make is overwatering, which can lead to root rot and plant stress.
General Watering Tips
Less is More: It’s better to underwater than overwater. Many plants prefer to dry out a bit between waterings. Stick your finger about an inch into the soil—if it feels dry, it’s time to water.
Water Deeply: When you do water, make sure you’re watering deeply enough for it to reach the roots. Water should flow out of the drainage holes at the bottom of the pot.
Use Pots with Drainage: Always ensure your plant pots have drainage holes. Plants left sitting in waterlogged soil are at risk of root rot.
Frequency Depends on the Plant: Some plants, like succulents, need watering only once every few weeks, while others, like ferns, prefer consistently moist soil. Take time to understand your specific plant’s needs.
Signs You’re Overwatering or Underwatering
Overwatering: Yellowing leaves, soft or mushy stems, and soggy soil are all signs of overwatering. If this happens, cut back on watering and ensure your plant’s pot has proper drainage.
Underwatering: Dry, crispy leaves and wilting are signs of underwatering. Give your plant a thorough drink and adjust your watering schedule.
Step 4: Repotting – When and How
Repotting is essential for your plant’s growth and health, but it doesn’t need to be done often. Most houseplants only need repotting every 1 to 2 years.
When to Repot
- Roots are growing out of the drainage holes.
- The plant is top-heavy and prone to tipping over.
- Water runs straight through the pot, meaning the soil is compacted and the plant isn’t absorbing water properly.
How to Repot
1. Choose the Right Pot Size: When repotting, select a new pot that’s 1 to 2 inches larger in diameter than the current one. If the pot is too large, the plant may focus more on root growth than leaf growth. It may also not use enough water in the soil leading to root rot.
2. Prepare Fresh Soil: Use a potting mix that’s appropriate for your plant’s type. For example, cacti and succulents need a well-draining mix, while ferns prefer moisture-retaining soil.
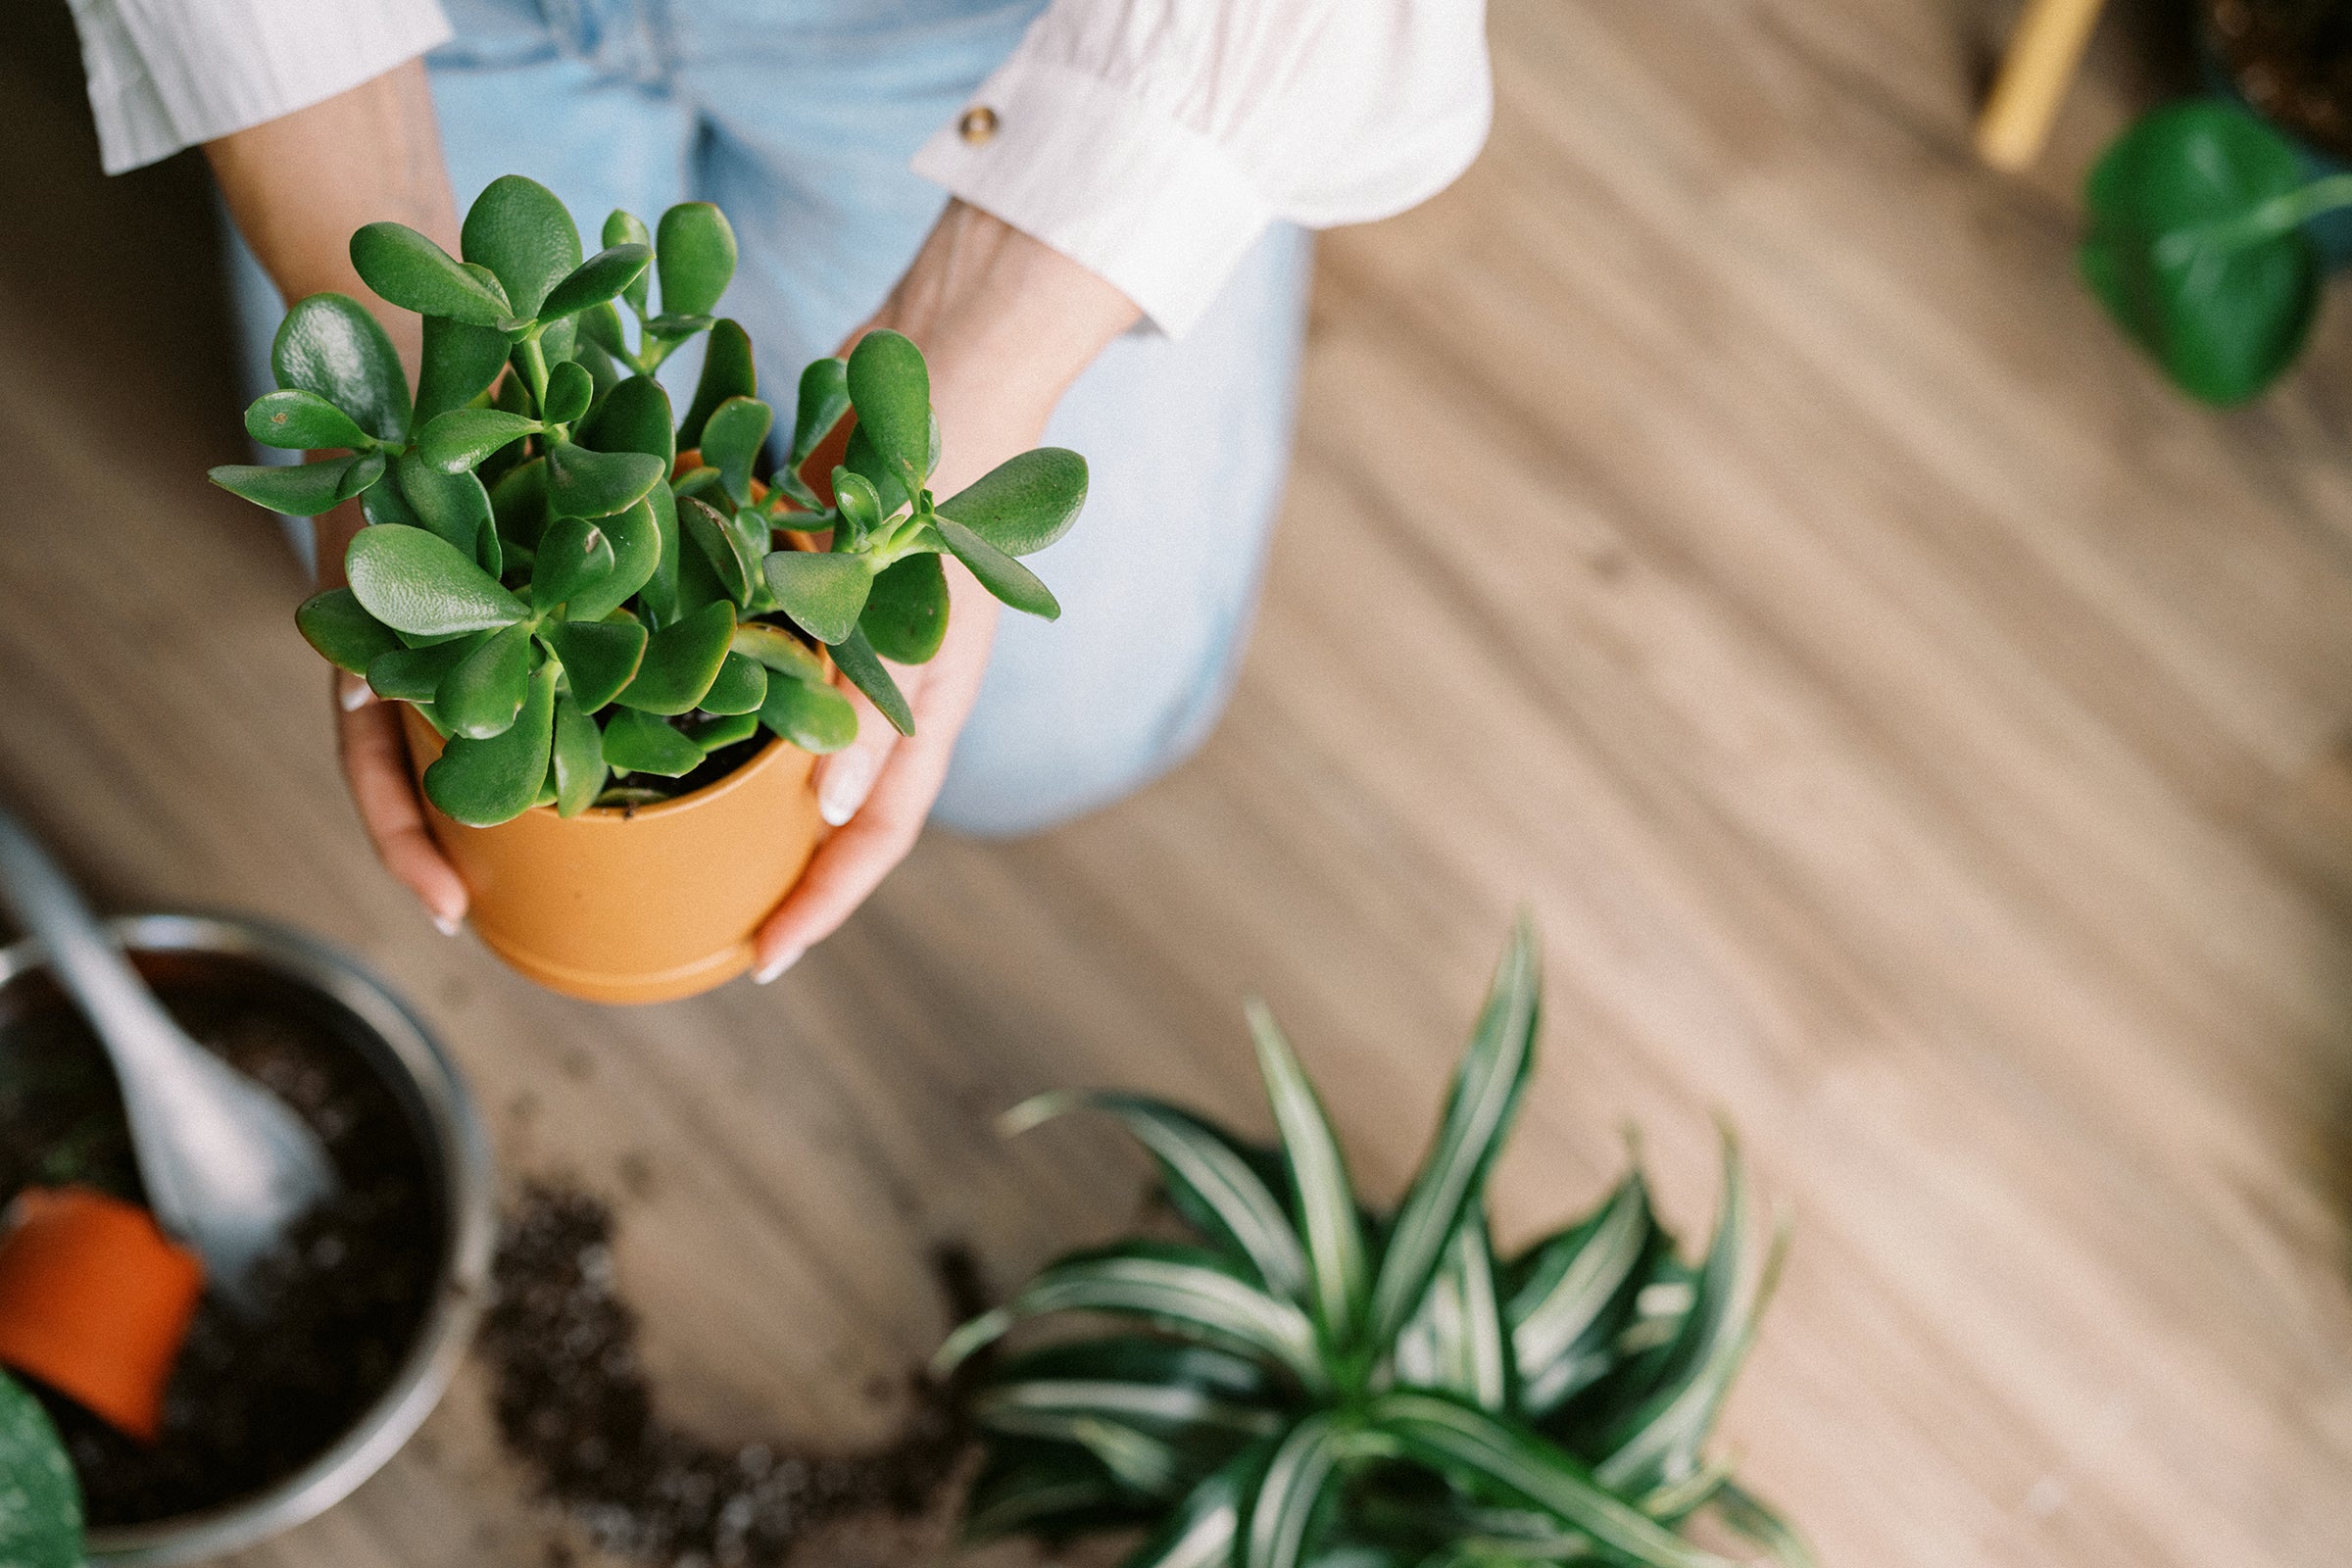
3. Repot Gently: Carefully remove the plant from its current pot, shaking off excess soil from the roots. This is a great time to inspect the roots. Place it in the new pot, fill with fresh soil, ensure the soil is pushed down around the root system to maintain its upright structure, and water thoroughly.

Step 5: Fertilizing for Growth
Plants need nutrients to grow, and while they get some from the soil, regular fertilizing during the growing season (spring and summer) can make a big difference in their health.
Types of Fertilizers
Liquid Fertilizer: Easy to mix with water and apply during regular watering.
Slow-Release Fertilizer: Small pellets that gradually release nutrients into the soil over time.
Organic Fertilizer: Made from natural ingredients and often gentler on your plants.
How to Fertilize
Less is More: Too much fertilizer can burn the roots and damage the plant. Follow the recommended dosage on the packaging, and err on the side of caution if you’re unsure by diluting the fertilizer.
Fertilize in Spring and Summer: During the growing season, your plant will benefit most from the extra nutrients. In fall and winter, reduce or stop fertilizing as the plant’s growth slows down.
Step 6: Maintaining Humidity
Many houseplants, especially tropical ones like ferns and calatheas, thrive in high humidity. In dry indoor environments, especially during winter, your plants may need a humidity boost.
Ways to Increase Humidity
Misting: Lightly mist your plants a few times a week, especially if they’re tropical varieties. This will only temporarily increase the humidity while the water droplets are present but it's a great way to connect with your plant.
Humidifier: Placing a small humidifier near your plants can create a more humid environment.
Pebble Trays: Set your plant pot on a tray filled with pebbles and water. As the water evaporates, it increases the humidity around the plant.
Group Plants Together: This creates a mini micro climate around the plants and increase the humidity.
Step 7: Preventing and Treating Common Plant Problems
As a new plant parent, it’s important to keep an eye on your plants for any signs of pests or disease. Catching problems early can save your plants and prevent the issue from spreading to others.
Common Pests
Spider Mites: Look for fine webbing on the undersides of leaves.
Mealybugs: These pests look like small, cotton-like clumps on your plant.
Fungus Gnats: Tiny black flies that hover around the soil surface.
How to Treat Pests
Treatment will depend on the type of pest you are dealing with. There are a variety of effective treatments including insecticidal soap, rubbing alcohol, sticky sticks, peroxide, etc.
Common Plant Problems
Yellowing Leaves: Often a sign of overwatering, but can also indicate nutrient deficiencies, pests, or too much direct sunlight.
Brown Leaf Tips: This can be caused by low humidity or underwatering. Brown tips can also be caused by softened water. Some plants are more sensitive to this than others. Increase humidity levels, check your watering routine, and learn about your plant's water preferences.
Wilting: This can result from underwatering, overwatering, or pests. Investigate the cause and adjust care accordingly.

Final Thoughts: Embrace the Journey of Plant Parenthood
Becoming a plant parent is a rewarding journey that adds beauty and tranquility to your home. As you gain more experience with each plant, you’ll develop a deeper understanding of their needs and how to care for them. Remember, it’s normal to make a few mistakes along the way—every plant teaches you something new.
By choosing the right plants, understanding their light and water needs, and learning how to troubleshoot common issues, you’ll be well on your way to growing a thriving indoor garden.
Happy planting!


Comentarios